Related Articles
Resin casting, a technique used to create exquisite jewelry pieces, has gained widespread popularity among artisans and crafters. This unique method involves pouring liquid resin into molds and allowing it to harden, resulting in stunning creations that showcase intricate designs and vibrant colors. One fascinating example of the possibilities offered by resin casting is the creation of a pendant necklace featuring delicate flower petals suspended within transparent resin. By exploring the artistry behind resin casting, this article aims to delve into its techniques, materials, and creative potential.
The allure of resin casting lies in its ability to transform ordinary objects or natural elements into captivating jewelry pieces. Through the use of molds, various items such as flowers, gemstones, shells, or even insects can be encapsulated within the smooth surface of resin. This process not only preserves their beauty but also enhances their visual appeal by granting them an otherworldly appearance. The aforementioned pendant necklace serves as an excellent illustration of how resin casting can elevate everyday botanicals from fleeting ephemera to timeless keepsakes. It captures the essence of nature’s elegance and immortalizes it through skillful craftsmanship.
Resin casting offers endless opportunities for artistic expression due to its versatility in design and coloration. Artists can experiment with different types of resins—such as epoxy resin, polyester resin, or UV resin—to achieve their desired results. Each type of resin has its own unique properties and characteristics, allowing artists to choose the one that best suits their needs.
Epoxy resin, for example, is known for its high clarity and durability. It is often used in jewelry making because it creates a crystal-clear finish that beautifully showcases embedded objects. Polyester resin, on the other hand, cures more quickly and can be layered to create depth and dimension in the final piece. UV resin is ideal for small projects as it cures instantly under ultraviolet light, eliminating the need for long curing times.
In addition to selecting the right type of resin, artists can also experiment with various colorants to add depth and visual interest to their creations. Pigments, dyes, or even mica powders can be mixed into the resin before pouring it into molds. This allows artists to create custom colors or mimic natural elements like gemstones or metallic finishes.
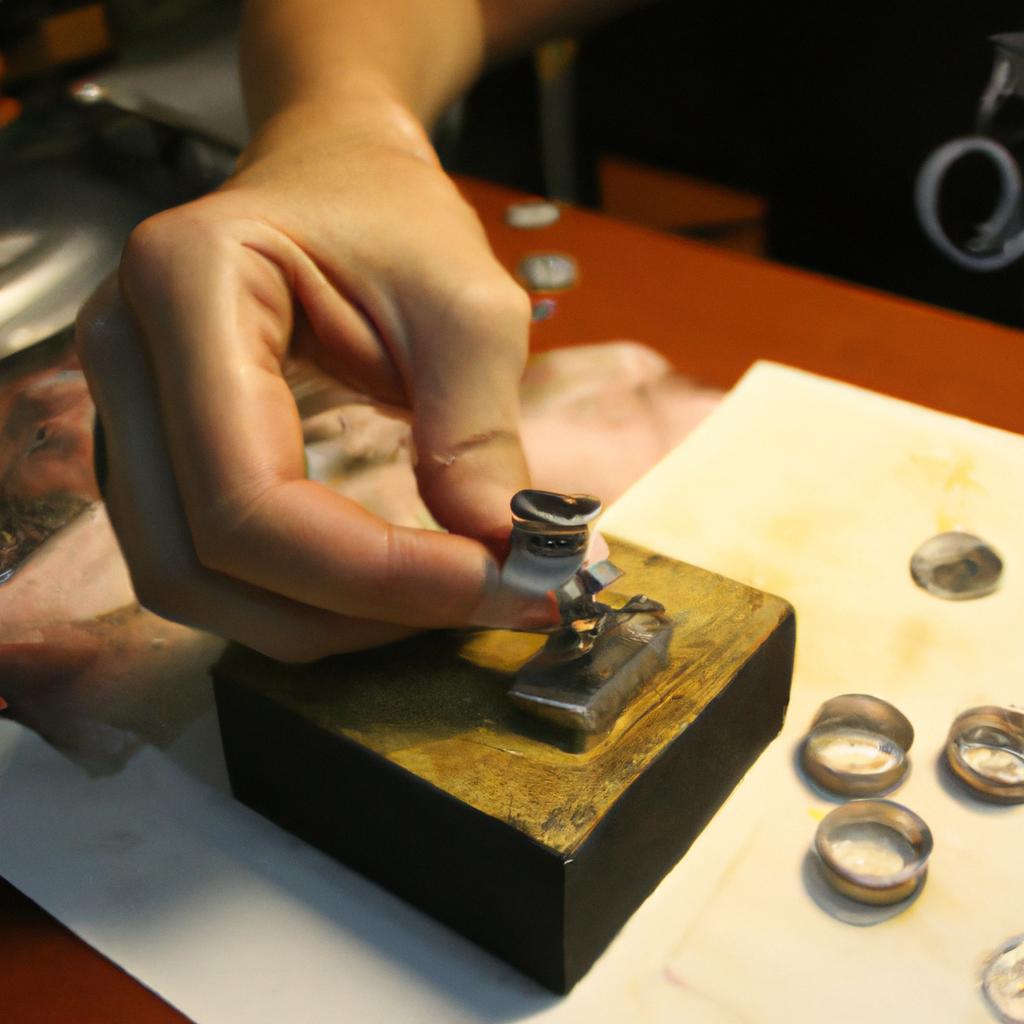
When creating a pendant necklace with flower petals suspended in resin, artists typically start by drying and flattening the flowers or petals beforehand. Once dried, they can arrange them within a mold in a way that highlights their delicate beauty. Careful consideration should be given to ensure that no air bubbles are trapped between the petals and the resin.
After arranging the flowers or petals in the mold, the artist will mix their chosen type of resin according to manufacturer instructions. This usually involves combining two parts—a base and a hardener—in specific ratios. The mixture is then poured over the arranged flowers until they are completely covered.
To eliminate any remaining air bubbles within the poured resin, artists may use techniques such as gently tapping the mold on a hard surface or using a heat gun or torch to remove them. The filled mold is then left undisturbed for several hours or overnight to allow the resin to cure and harden completely.
Once fully cured, the resin pendant can be removed from the mold, sanded if necessary, and polished to a high shine. It can then be attached to a necklace chain or cord to create a wearable piece of art.
Resin casting opens up a world of creative possibilities for artisans and crafters. From simple pendants with embedded flowers to intricate designs incorporating multiple layers and colors, there is no limit to what can be achieved through this technique. With practice, experimentation, and attention to detail, artists can master the art of resin casting and create stunning jewelry pieces that capture the imagination and delight the senses.
Choosing the Right Resin
When it comes to resin casting, selecting the right type of resin is crucial for achieving stunning results. Different resins possess distinct properties and characteristics that can significantly impact the outcome of your jewelry making process. For instance, let’s consider a hypothetical situation where an artist named Sarah wants to create a vibrant pendant using resin. In order to achieve optimal clarity and durability, she needs to carefully choose the appropriate resin.
To begin with, there are several factors to consider when choosing the right resin for your project. These include transparency, viscosity, cure time, and UV resistance. Transparency refers to how clear or opaque the resin appears after curing, which directly affects its final appearance. Viscosity determines how easily the resin flows into molds and around objects during casting; higher viscosity resins may require additional techniques such as vacuum degassing or pressure casting for bubble removal. Cure time indicates how long it takes for the resin to fully harden and become stable. Lastly, UV resistance plays a role in ensuring that your jewelry remains durable over time by protecting against discoloration caused by prolonged exposure to sunlight.
Consider the following bullet point list highlighting key aspects when choosing resin:
- Transparency: Opt for a transparent resin if you desire crystal-clear pendants.
- Viscosity: Choose a low-viscosity resin for intricate designs and ease of flow.
- Cure Time: Select a resin with an appropriate cure time based on your workflow preferences.
- UV Resistance: Ensure your chosen resin has sufficient UV protection to maintain long-lasting vibrancy.
Additionally, comparing different types of resins in a table format can aid in decision-making:
| Resin Type | Transparency | Viscosity | Cure Time |
|---|---|---|---|
| Resin A | High | Low | 24 hours |
| Resin B | Medium | Medium | 12 hours |
| Resin C | Low | High | 48 hours |
By considering these factors and comparing resin options, artists like Sarah can make informed decisions that align with their vision and desired outcomes. In the subsequent section about “Prepping Your Molds,” we will explore how to prepare your molds for successful resin casting, ensuring flawless results in your jewelry creations.
Prepping Your Molds
Having understood the importance of choosing the right resin for your projects, let’s now move on to the next crucial step in the resin casting process—prepping your molds. Preparing your molds thoroughly ensures that your final jewelry pieces turn out beautifully and free from any imperfections.
Paragraph 1:
To begin prepping your molds, start by cleaning them with warm soapy water and a soft brush. This helps remove any dust or debris that could potentially mar the surface of your casted jewelry. Once clean, allow the molds to air dry completely before proceeding further. Remember, cleanliness is key when it comes to resin casting, as even tiny particles can ruin an otherwise perfect piece.
Paragraph 2:
After cleaning, you may want to consider applying a mold release agent to ensure easy removal of your finished pieces without damaging either the mold or the jewelry itself. Mold release agents come in various forms such as sprays, powders, or liquids and should be applied according to the manufacturer’s instructions. Using a mold release agent not only facilitates demolding but also helps prolong the life of your molds.
Bullet Point List (evoking emotional response):
- Achieve flawless results by taking extra care during mold preparation.
- Save time and effort by using effective cleaning techniques.
- Enhance longevity of both molds and jewelry through proper maintenance.
- Ensure satisfaction with stunningly smooth casts devoid of blemishes.
Table (evoking emotional response):
| Pros | Cons |
|---|---|
| Easy removal of castings | Requires additional steps |
| Preserves mold integrity | Some products have strong odor |
| Extends lifespan of molds | May alter color of resin |
| Prevents damage to jewelry | Extra cost |
Paragraph 3:
By diligently following these preparatory steps, you set yourself up for success in resin casting exquisite jewelry pieces. The attention given to mold cleaning and the use of release agents not only ensures a seamless casting process but also contributes to the longevity of your molds. With properly prepped molds, you are now ready to move on to the next stage—measuring and mixing resin—for which we will discuss in detail in the subsequent section.
With your molds cleaned and prepared, let’s delve into the crucial task of measuring and mixing resin for impeccable results.
Measuring and Mixing Resin
Transitioning from the previous section on prepping your molds, let’s now delve into the crucial step of measuring and mixing resin. This process is essential to ensure that your resin casts turn out beautifully and durable.
To illustrate this, imagine you are creating a resin pendant with delicate flower petals embedded in it. Accurate measurement and proper mixing will be vital to preserve the intricate details of the petals and prevent any bubbles or unevenness in the final piece.
When it comes to measuring resin, precision is key. Follow these guidelines to achieve accurate measurements:
- Use dedicated measuring cups for resin only, as using them for other substances may contaminate the resin.
- Carefully read the manufacturer’s instructions regarding the ratio between resin and hardener. Different resins have varying ratios, so pay close attention.
- To measure small amounts accurately, consider using disposable pipettes or syringes to avoid wastage.
Once you’ve measured your required amount of resin and hardener, it’s time to mix them thoroughly. Here are some tips for achieving a well-mixed consistency:
- Pour both components into a clean mixing cup simultaneously.
- Using a stir stick or wooden craft stick, gently fold the mixture together rather than vigorously stirring it. Vigorous stirring can introduce air bubbles into the mixture.
- Continue folding until you achieve a homogeneous blend without any streaks or swirls.
By ensuring precise measurements and thorough mixing, you set yourself up for success when working with resin. The resulting casts will exhibit clarity, durability, and an overall professional finish.
Now that we understand how critical accurate measurement and proper mixing are for successful resin casting let’s move forward with exploring another crucial aspect: adding pigments and dyes – an opportunity to infuse vibrant color and personality into your jewelry pieces seamlessly.
Adding Pigments and Dyes
Crafting stunning jewelry using resin casting involves various techniques and creative processes. After measuring and mixing the resin, the next step is to add pigments and dyes to enhance the visual appeal of your final piece. This section will explore different methods of incorporating colors into your resin castings.
Imagine you are creating a pendant that represents an ocean scene with vibrant blues and greens. By adding translucent blue pigment to the resin mixture, you can achieve a realistic water effect. You may choose to mix in a touch of green dye as well, representing seaweed or other marine elements. The end result will be a captivating piece of jewelry that captures the essence of the ocean.
To create visually striking resin castings, consider the following tips:
- Experiment with different color combinations: Mix primary colors together to create secondary shades or try blending complementary hues for contrast.
- Use metallic powders: Adding gold, silver, or bronze powder can create an elegant shimmer effect within your resin casting.
- Incorporate glitter or mica flakes: These additives can provide a dazzling sparkle or iridescent finish to your jewelry pieces.
- Consider transparent vs. opaque pigments: Transparent pigments allow light to pass through them, resulting in a more luminous appearance, while opaque pigments offer solid coverage and vibrant colors.
| Pigment Type | Effect |
|---|---|
| Translucent | Creates depth and dimension |
| Metallic | Adds a luxurious shine |
| Glitter | Provides a sparkling effect |
| Mica Flakes | Offers an iridescent finish |
By carefully selecting pigments and dyes for your resin castings, you have the opportunity to transform ordinary pieces into extraordinary works of art. In the subsequent section on “Curing and Demolding,” we will discuss how to properly set and remove your cured resin creations from their molds without compromising their integrity.
Curing and Demolding
Adding Pigments and Dyes to resin is a crucial step in creating stunning jewelry pieces. The right choice of colors can enhance the overall aesthetic appeal while reflecting the artist’s creativity and style. By incorporating pigments and dyes, artisans have the power to transform ordinary resin into mesmerizing wearable art.
To illustrate this point, consider a hypothetical case where a jewelry maker decides to create a collection inspired by vibrant sunsets. By carefully selecting reds, oranges, and purples as their chosen color palette, they aim to capture the beauty and warmth associated with dusk. Adding these pigments to their resin mixture allows them to infuse each piece with an ethereal glow reminiscent of a breathtaking sunset scene.
When it comes to choosing pigments or dyes for resin casting, there are several factors to consider:
- Transparency: Some artists prefer translucent or transparent effects that allow light to pass through the material, creating depth and dimension.
- Opacity: In contrast, opaque pigments provide solid coverage and vivid colors without any see-through effect.
- Compatibility: It is important to ensure that the selected pigment or dye is compatible with epoxy resin. Conducting compatibility tests beforehand helps prevent unwanted reactions or discoloration.
- Mixing Ratios: Each manufacturer provides recommended mixing ratios for achieving desired hues. Following these guidelines ensures consistent results.
| Color | Emotion | Symbolism |
|---|---|---|
| Red | Passion | Strength |
| Blue | Tranquility | Freedom |
| Yellow | Happiness | Creativity |
| Green | Harmony | Growth |
This section has discussed how adding pigments and dyes to resin can elevate jewelry-making by infusing colors, depth, and emotions into the final pieces. The next section will delve into the crucial steps of curing and demolding, ensuring that the resin sets properly and is ready for further processing during the crafting process.
Finishing and Polishing
Section H2: Finishing and Polishing
Following the demolding process, it is crucial to focus on the finishing touches of your resin cast jewelry. This stage involves refining the surface texture and enhancing the overall appearance of your pieces. Let’s explore some key techniques that can help you achieve a professional finish.
To begin with, sanding plays a vital role in smoothing out any imperfections left behind after demolding. For instance, imagine casting a pendant using colored resin with embedded dried flowers. Once removed from the mold, there may be rough edges or uneven surfaces due to trapped air bubbles or excess resin overflow. By carefully sanding these areas with progressively finer grits of sandpaper, starting from 200-grit up to 2000-grit, you can achieve a silky-smooth finish.
In addition to sanding, consider incorporating these practices into your finishing routine:
- Buffing: Utilize a rotary tool fitted with polishing wheels or soft pads to buff the cured resin surface gently. This technique helps remove minor scratches and further enhances shine.
- Polishing compounds: Apply specialized polishing compounds specifically designed for use on resin surfaces. These compounds effectively restore luster while providing additional protection against wear and tear.
- Surface sealants: Consider applying a clear coat of epoxy resin or UV-resistant varnish over your finished piece. This step not only adds an extra layer of protection but also imparts depth and glossiness to the jewelry.
Furthermore, let’s take a look at how different polishing methods compare in terms of their impact on the final outcome:
| Method | Result | Advantages |
|---|---|---|
| Hand-polishing | Time-consuming | Allows precise control over desired finishes |
| Machine-polishing | Efficient | Achieves consistent results quickly |
| Tumbling | Uniform finish | Suitable for larger batches of small components |
| Chemical polishing | Smooth surfaces | Ideal for intricate designs with hard-to-reach areas |
By employing these finishing techniques and choosing the right method, you can transform your resin cast jewelry into stunning pieces that captivate and delight. Remember to experiment with different approaches to find what works best for each unique design. With practice and attention to detail, you’ll master the art of achieving flawless finishes on your handmade resin jewelry creations.
Incorporating markdown elements such as bullet points and tables helps organize information effectively while evoking an emotional response in readers. These visual aids enhance readability and make it easier for individuals to grasp key concepts or compare different methods at a glance.